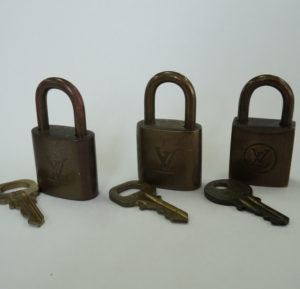
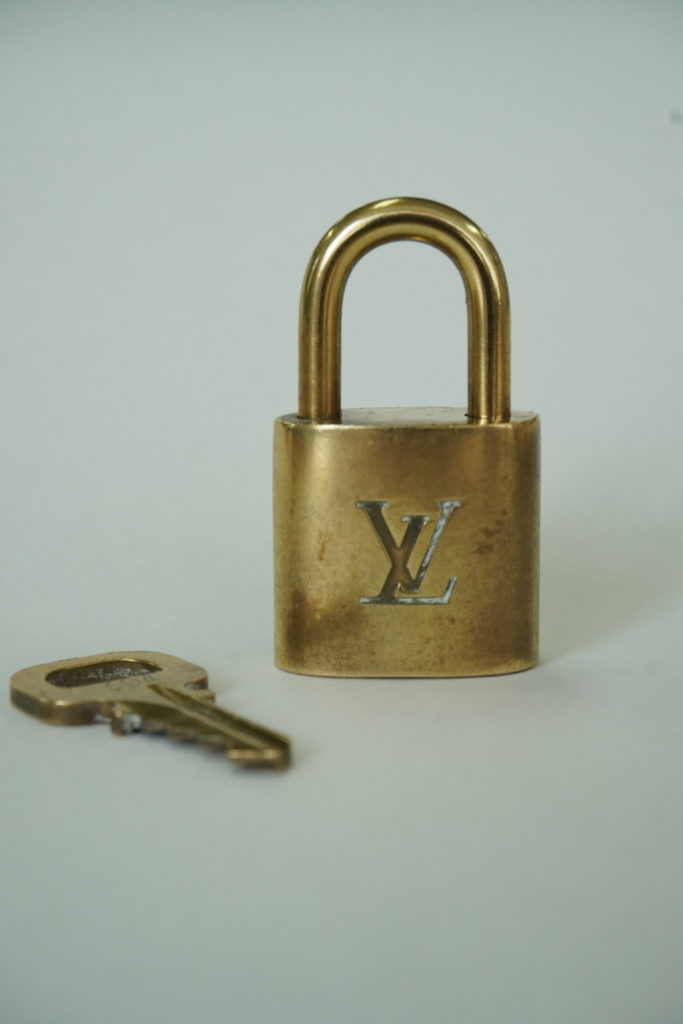
Welcome I see you have a problem that every Louis Vuitton lover eventually reaches, after years of love and care your locks are just not as glitz and glam as they used to be.
Fear not for there is a cure and I will lead you through this journey.
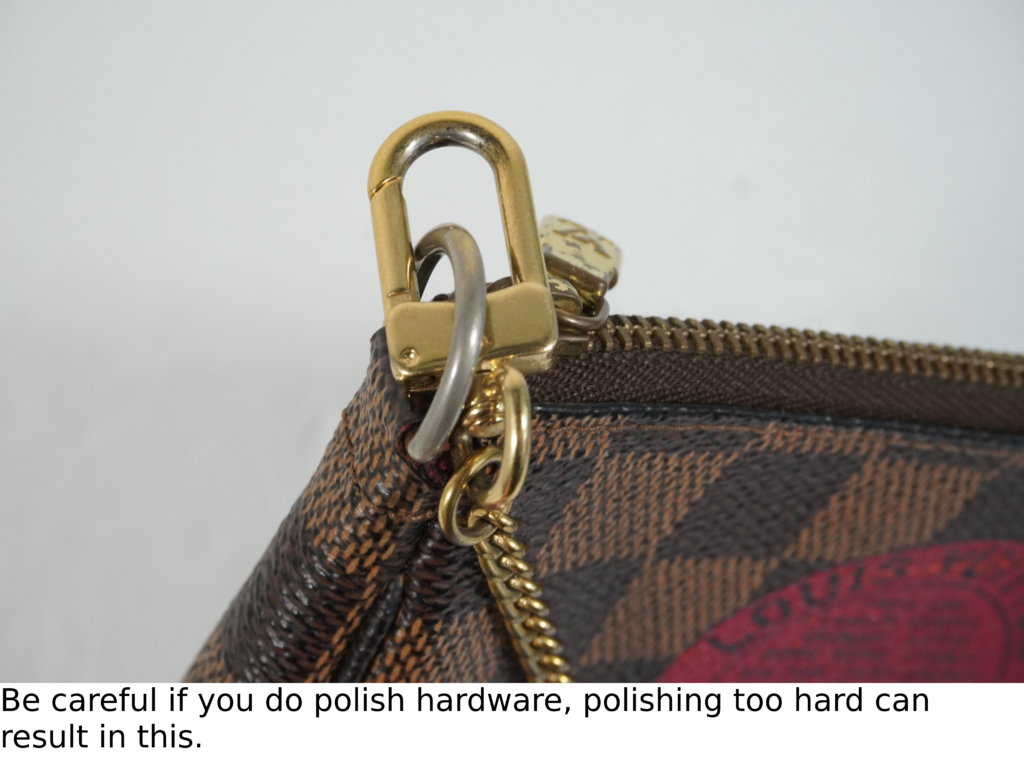
A quick warning before we begin, be careful with hardware on your bag. Not only do you risk the material, but you risk silvering the hardware. LV locks are solid brass, not plated like their rivets.
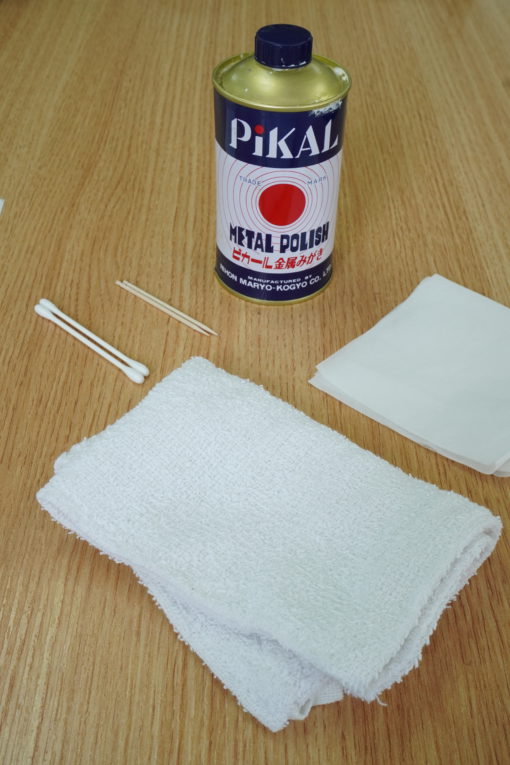
Gear List:
Polishing Agent (You can find brass polish at almost any hardware store.)
A clean cloth
Optional tools:
Toothpicks
Cotton swabs
Tissues
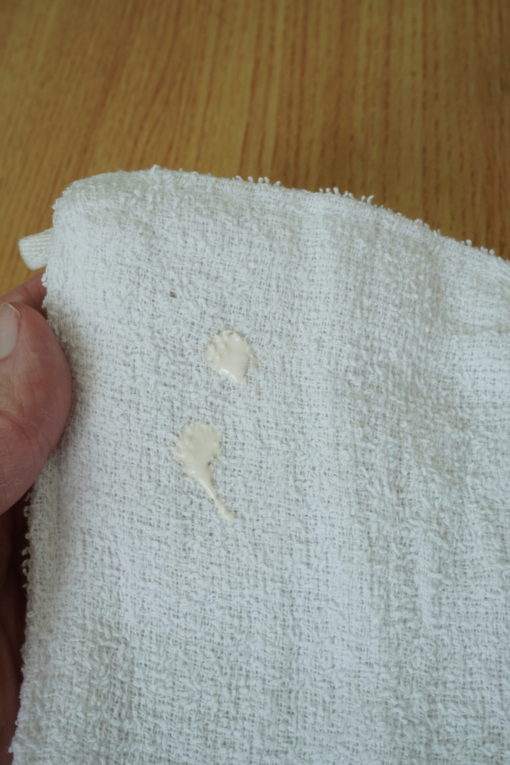
Ok, now get your mind out of the gutter and take your polishing agent and apply onto your cloth.
I don’t recommend putting it directly onto your lock it makes a mess and trust me you don’t want this on your hands.
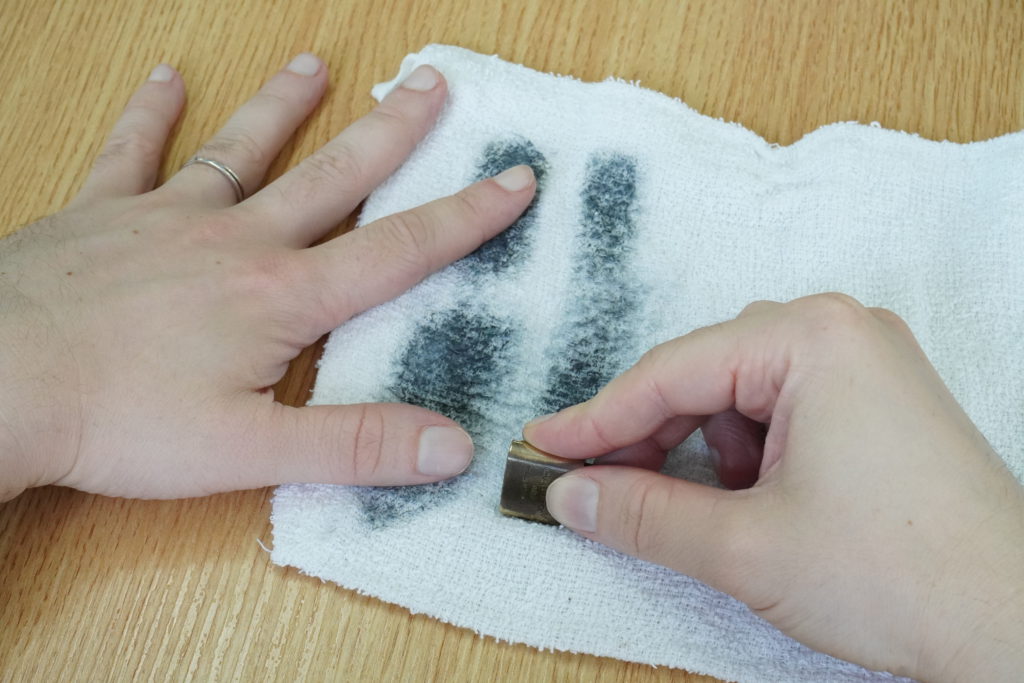
To begin polishing just take your lock and rub vigorously, what did I say about staying out of the gutter. Move the lock in a straight line against the cloth I will provide a step by step photo illustration.
Start from the top and…
And bring it down. The direction doesn’t really matter but I find more power in this orientation. Keep rubbing until you see some shine don’t worry too much about it being perfect we will return to it.
Now repeat these steps with the rest of the lock’s body, wait to do the top and the bottom as these are trickier.
*Tip: do not keep using the same part of the cloth, use clean sections of the cloth for each side.*
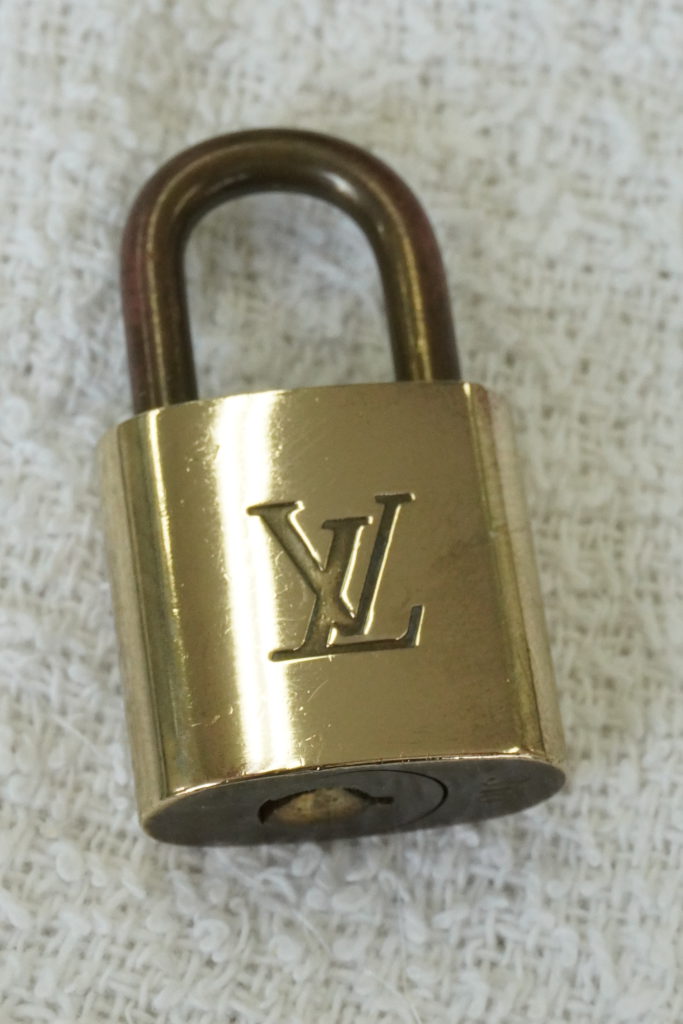
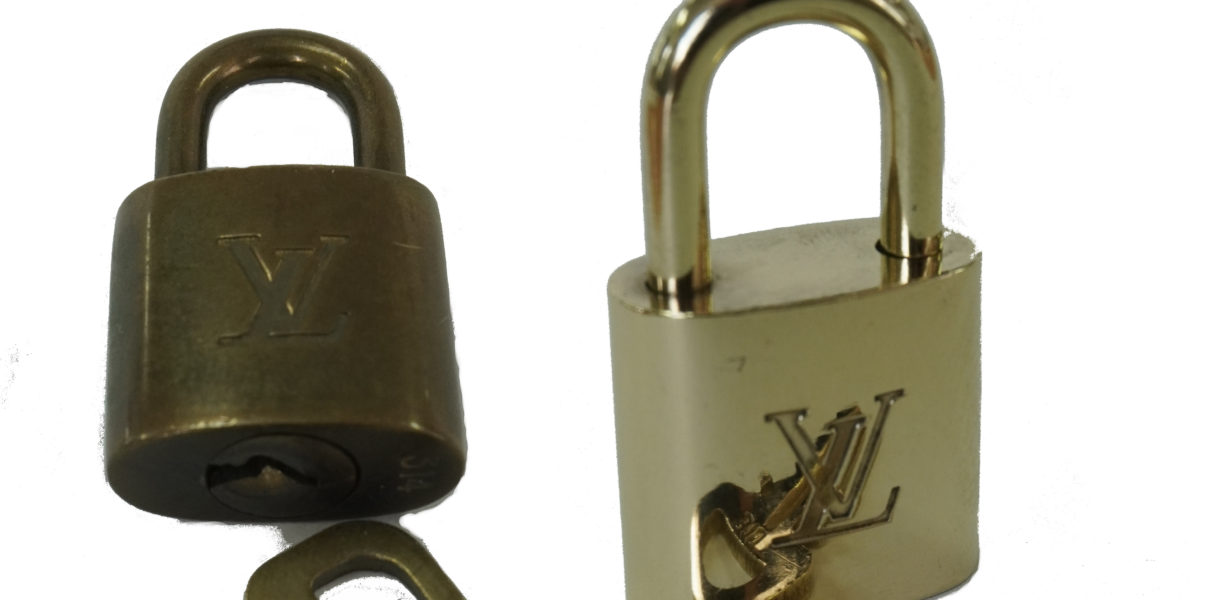
Look at that, the body is beautiful now it isn’t complete but we need to get the rest of the lock polished up or else the grim from the rest of the lock can dull our hard work. You may also notice The LV still has tarnishing, well to fix that all we need is our other tools.
If you don’t mind you can skip this step.
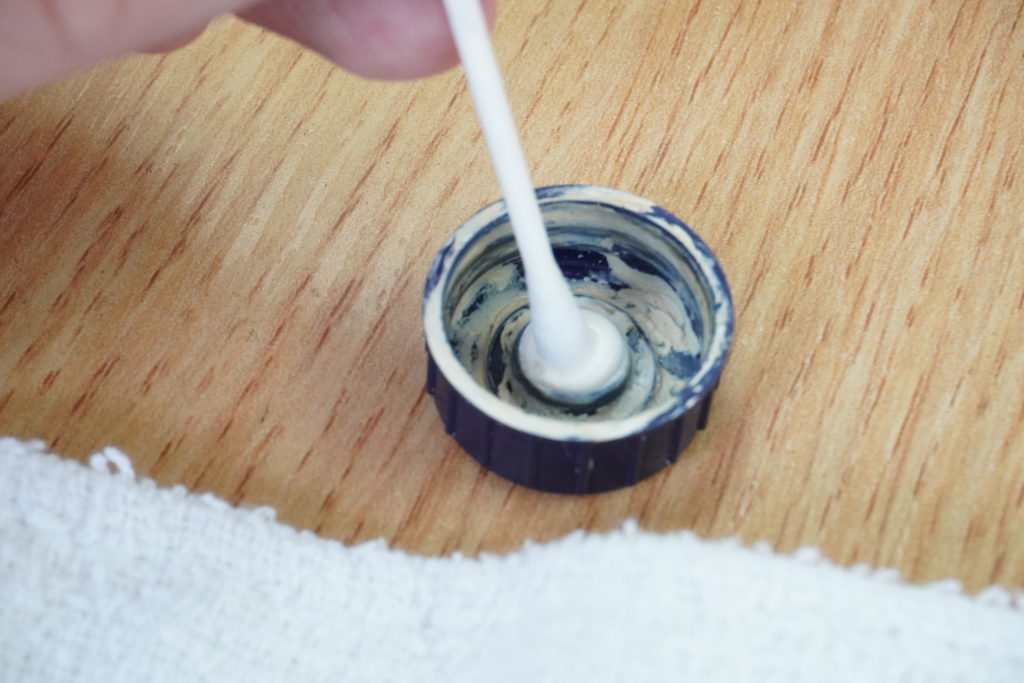
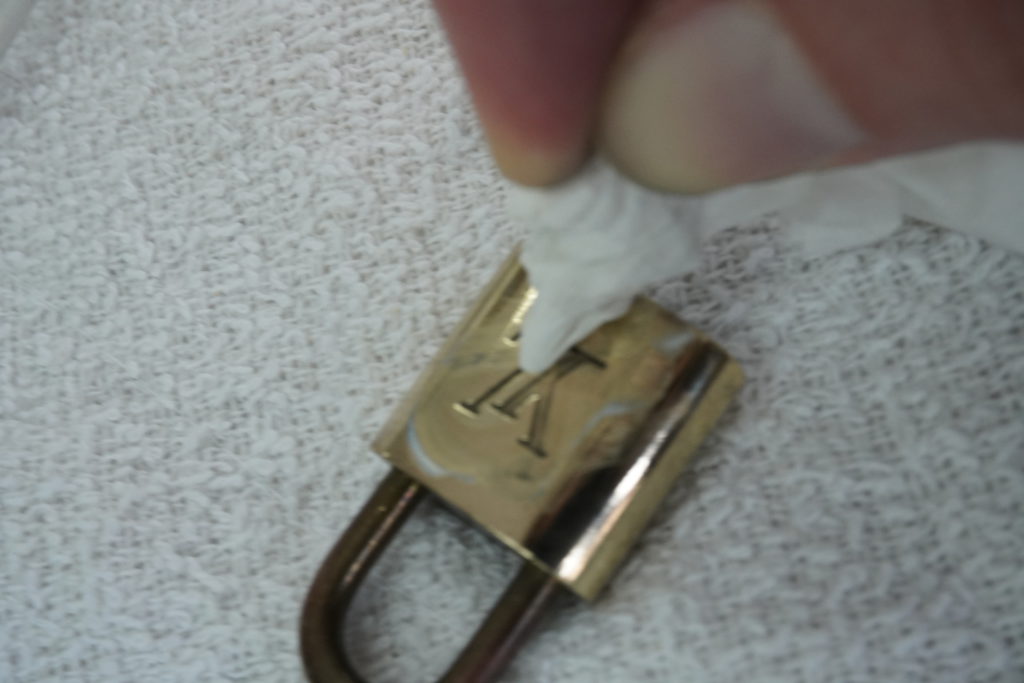
Add a small amount to your cotton swab, I personally like using the little bit in the cap to make it easy to dip.
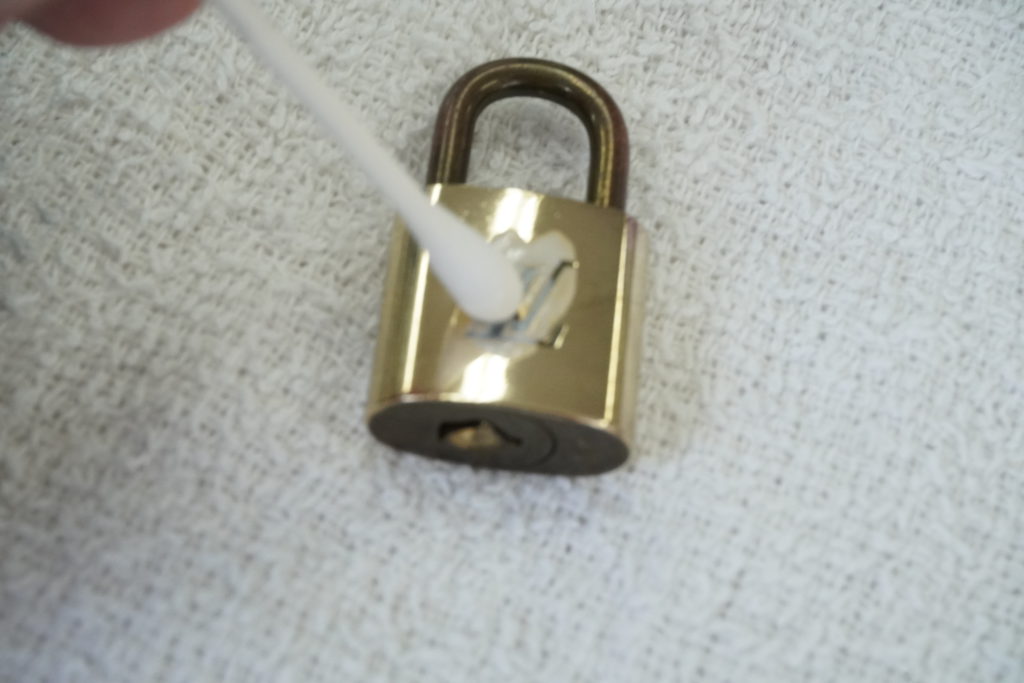
Apply and rub along the LV making sure to get into the crevice. Make sure you rotate as the tip gets dirty so you keep using a clean edge. Soon only the corners and narrow passages are left.
Take out your toothpick and wrap up it up into a tissue, make sure it is tight to keep a point. You can use this to clean those spaces you can’t reach with the swab.
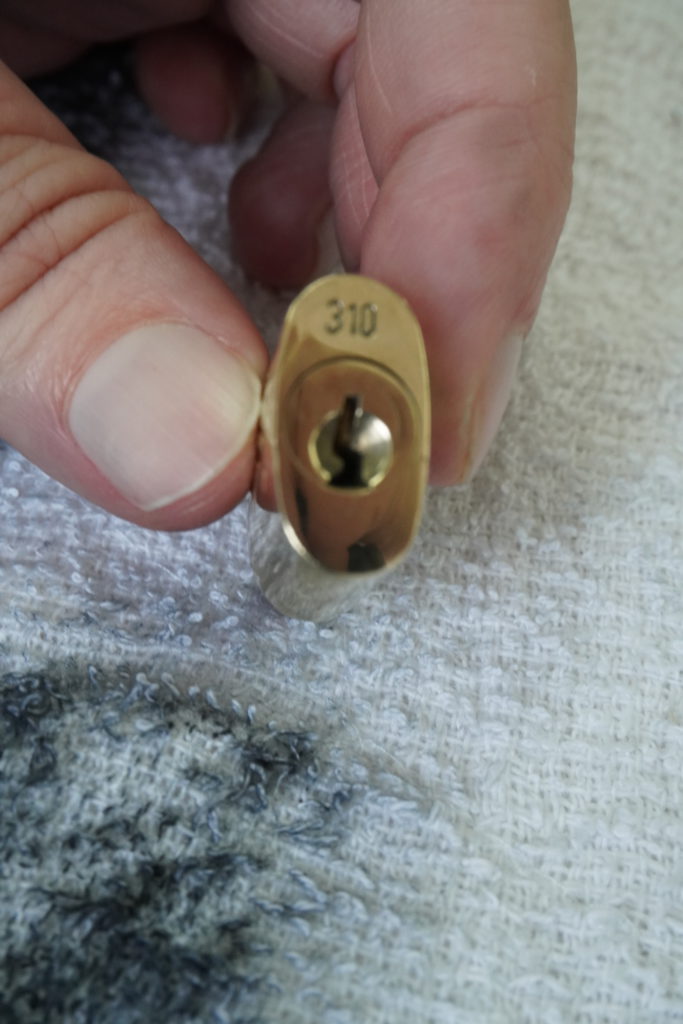
Great now onto the bottom of the lock. Most of you know this part of the lock has a keyhole for those who did not know…
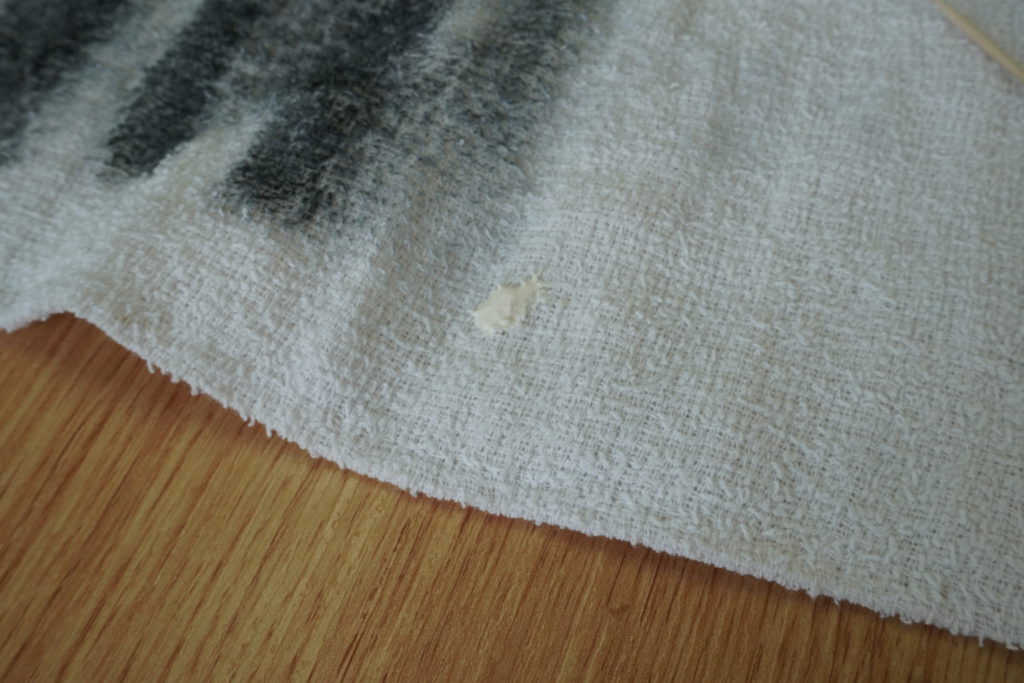
We do not want to get the polisher inside of the keyhole, it can cause damage and promote corroding. To fix this I recommend smearing the polisher with the lock then rubbing the bottom. This prevents loose polisher from spreading too far into the lock.
Please observe below. First Polisher, then spread.
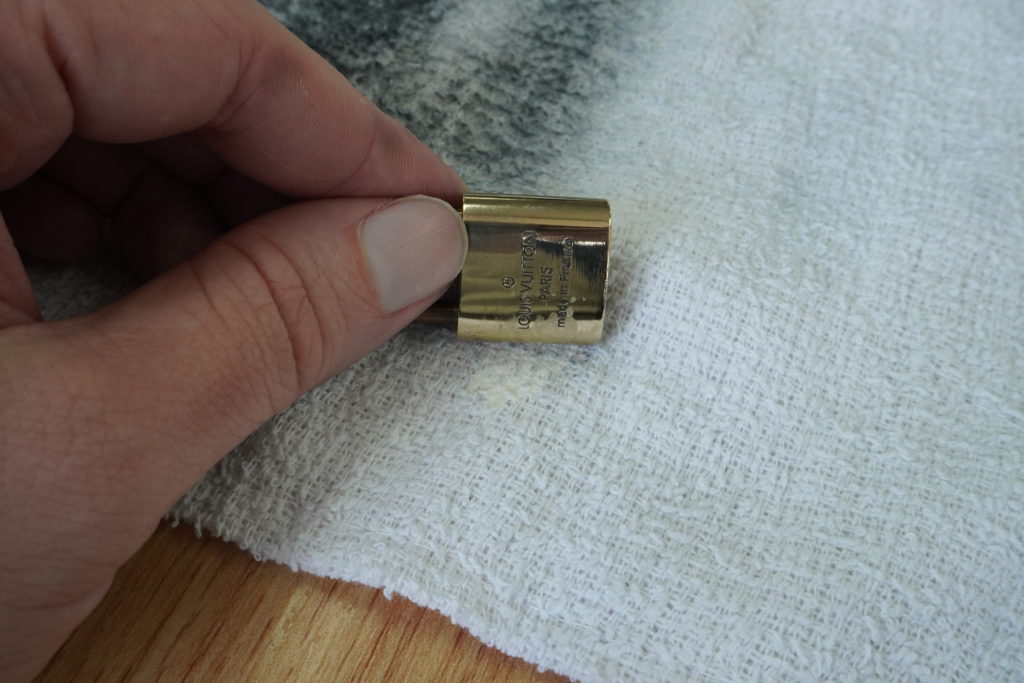
Perfect now get that bottom a good rub…
Shine the area near the keyhole…
Just polish that section. You will have a beautiful base in no time.
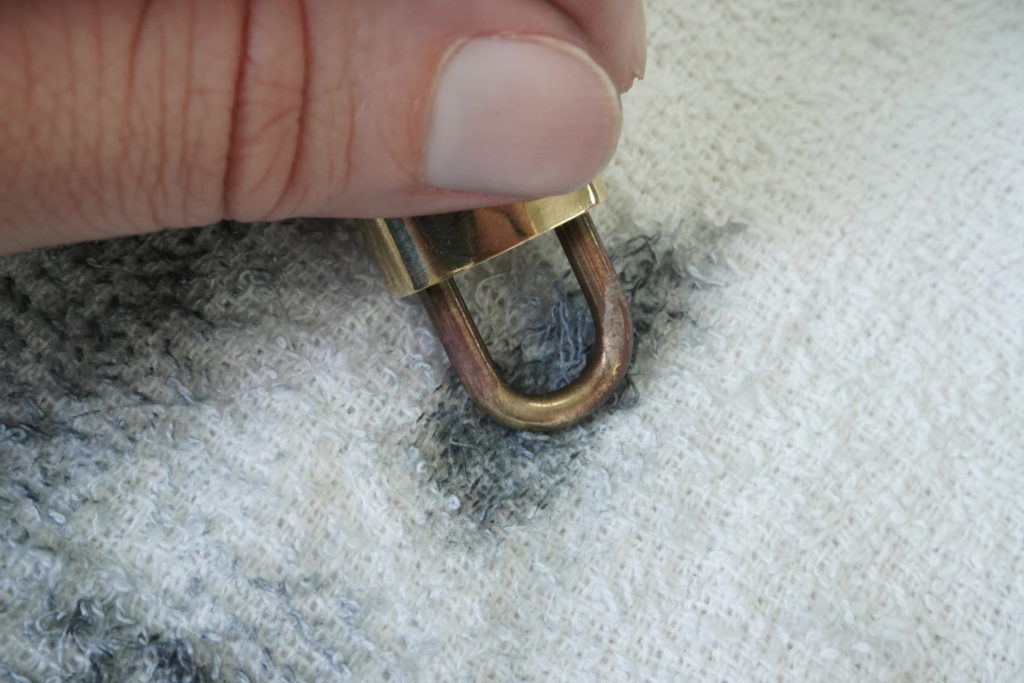
Let’s tackle the shackle now. Apply the polisher onto the cloth and either repeat like the body or wrap the cloth around the shackle and clean. I prefer the former as it does clean much faster.
Unlock the shackle and repeat the same process as the bottom of the lock. I use the edge of the table to get most of the area clean. Then take a cotton swab to remove the grime around the shackle.
Do one more polish session on every side to get it nice and shiny.
Our last step is to take a clean tissue and wipe all areas, you can also do this with a wet wipe, this is to remove any traces of the polisher which is important to protect your bags and your locks as leftover polish can actually cause tarnishing and corroding.
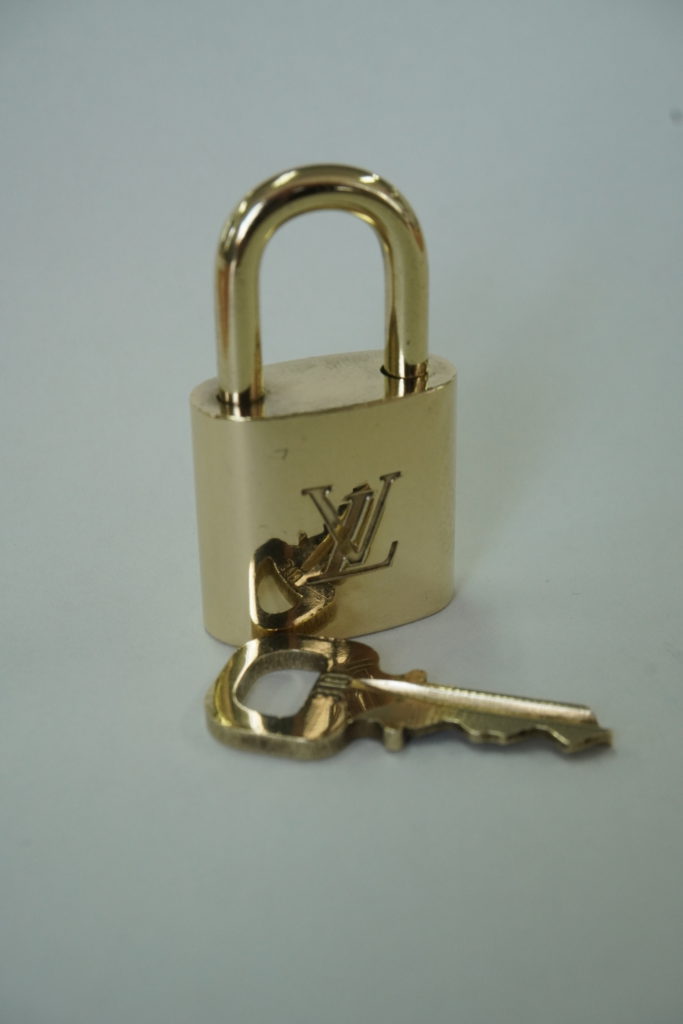
There we go a beautifully polished lock. Now you can try yourself or if you get lucky you may get one polished by yours truly when you purchase an item at our store.
We use cookies on our website to give you the most relevant experience by remembering your preferences and repeat visits. By clicking “Accept All”, you consent to the use of ALL the cookies. However, you may visit "Cookie Settings" to provide a controlled consent.
This website uses cookies to improve your experience while you navigate through the website. Out of these, the cookies that are categorized as necessary are stored on your browser as they are essential for the working of basic functionalities of the website. We also use third-party cookies that help us analyze and understand how you use this website. These cookies will be stored in your browser only with your consent. You also have the option to opt-out of these cookies. But opting out of some of these cookies may affect your browsing experience.
Necessary cookies are absolutely essential for the website to function properly. This category only includes cookies that ensures basic functionalities and security features of the website. These cookies do not store any personal information.
Any cookies that may not be particularly necessary for the website to function and is used specifically to collect user personal data via analytics, ads, other embedded contents are termed as non-necessary cookies. It is mandatory to procure user consent prior to running these cookies on your website.